

Traditional Wax Batik on Muslin
with Procion MX Dyes

Here's a peek at my set up. It's in the same building as my studio, but in a corner close to the utility room where I have access to a sink.
My table is covered with a cheap tablecloth, and then layered with some newspapers. I've used a cardboard box as a frame to stretch the cloth, and it's held with pushpins. I looked for a used electric skillet for weeks, but in the end bought one so I could start this project.
My table is covered with a cheap tablecloth, and then layered with some newspapers. I've used a cardboard box as a frame to stretch the cloth, and it's held with pushpins. I looked for a used electric skillet for weeks, but in the end bought one so I could start this project.

The wax and paraffin blend can stay in the skillet in between projects. It takes about 10 minutes to get up to the proper temperature. I added rubber bands on my tools to keep them from slipping into the hot wax. Hah! I'm learning!

I anticipated using the tjanting tools to draw on the fabric, but decided to try one of the $1 cookie cutters I found yesterday instead. I wasn't sure it would work. Then again, I wasn't sure any of this was going to work. It's recommended that you use a tighter weave fabric to batik on. Pimatex, linen, silk, etc. Muslin has more of an open weave, and is not recommended. The problem is that you might not be able to get the wax entirely out of the fabric. I felt that was something I should learn about first hand.

Using a little black clamp keeps my hands far away from the melted wax, I used an alternating pattern to make it interesting.

The drips add to the design, and I'm not opposed to the charm. Yes, by the way, it is muslin!
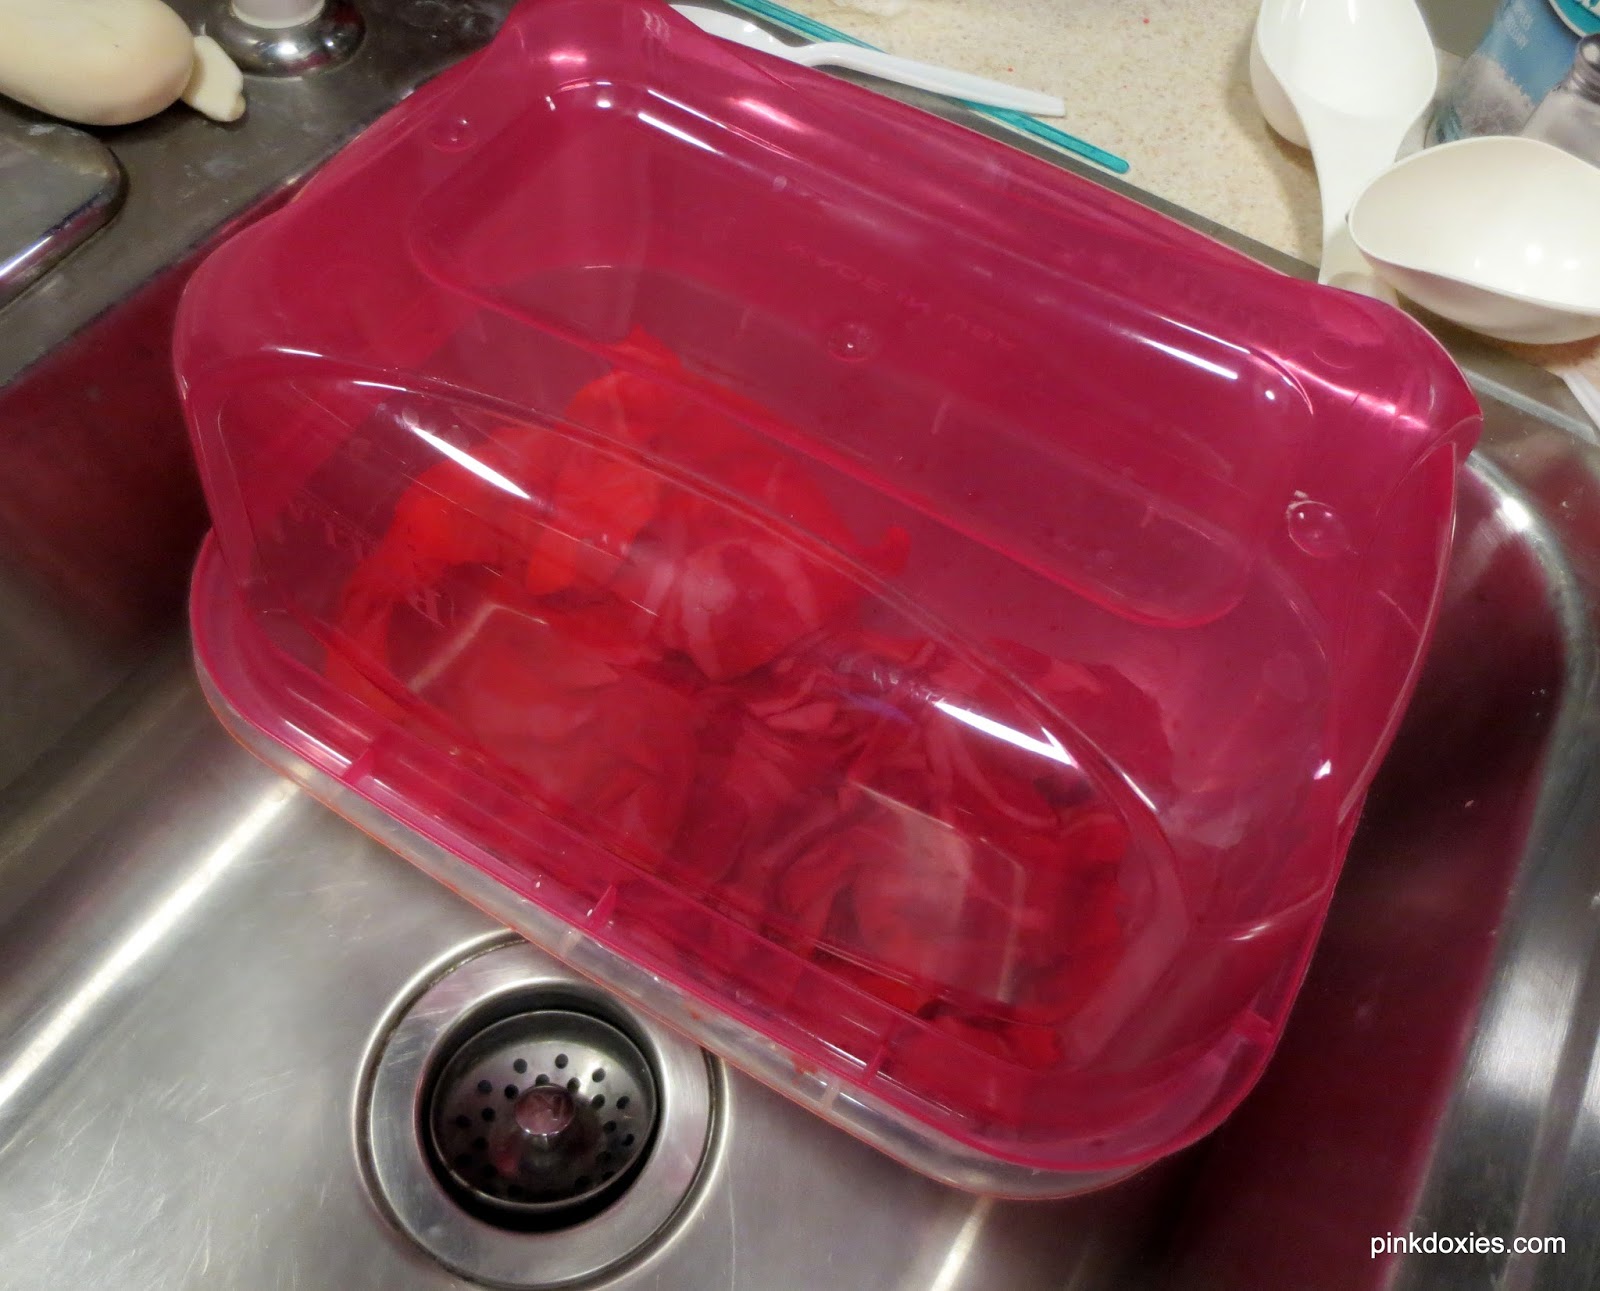
There were so many colors I hadn't yet tried, so I picked an orange and a red. I used a modified low immersion process--a little of this and that how I went about it. Procion dyes need to remain wet to work, so I tented the plastic box with another to keep it wet overnight.

While I was on my slightly-defiant-dyer kick, I decided to try dyeing a 50% cotton/ 50% polyester blend. The polyester is a fiber that won't take a dye so I had to imagine how my color would appear as a lighter pastel of the dye. This pail is Better Black on 2 twin sheets I had stored in my linen closet. They hadn't been used in years, but would make ideal backing for my improv quilt I have in process. I had nothing to lose.

At 4 a.m. I woke up thinking about the dye experiment. I was in the studio before 6 rinsing, and very happy. The sheets would need to go through the washer, but the muslin needed to have the wax boiled out back home. Load it up, and haul it all back home.
I started by testing the first batiks I made a few days ago. Yes, there was still some wax left in the fabric. Not a lot, but you can see the water surface looks oily.

Adding a few drops of Castille soap helped to boil out the wax, and speed the process. I read this on one of the many websites or books I've been through this past week. I wish I knew who to credit for the tip. I also found raising the water level helped the fabric move about in the pot.

The muslin had a lot of wax that floated off early. I boiled and emptied the pot 3 times until I was satisfied I had most of the wax removed. I poured the water out outside to keep it from clogging my drain.
*I used one of my canning kettles for this process. Although all vessels that you dye with should never be used for food prep again, both beeswax and paraffin are not considered dangerous. They are both ingredients in many supplements we take, if you read closely. It's messy, but you can remove the wax residue if necessary. These may be dedicated tools from here on out.

On the last boil, I filled the pot to the top, and used a canning jar to completely submerge the fabric. I allowed the pot to cool completely, and the wax solidified. This allowed me to remove the fabric with little wax residue.

And how about the sheets? I was happy. They dyed a lovely chambray color. Each had a stripe running through the middle, but nothing I can't cut around.

The close up shows the patterning where the cotton took the dye, but the polyester did not. Interestingly, each sheet is a slightly different color. This does happen when dyeing supposedly identical items such as t-shirts, so you need to be aware when planning.

*If you're curious about the flash drive I included, this helped me get true colors in my photograph. Sometimes my camera needs an additional color to balance it. I'm not sure of the exact science, but it helps me when the colors aren't coming out true.
Come on, Doxie girls.
Let's do a clean up,
and then go sew.


19 comments:
Gorgeus colours again and I love the circle pattern! Great job, Julie! x Teje
Julie, I'm enjoying following your process so much. Can't wait to see what you try next.
How wonderful you take the time to experiment. I always love playing around with dyeing, printing etc. The results can be a surprise, and it is so exciting and uplifting to work like that! Have you already got plans for using your dyed fabrics?
The colors are beautiful, love the designs. I did this once with a friend. It takes so much time to boil the wax off. The last thing she did was to iron the dry fabric, between 2 brown paper bags to soak up any leftover wax.
You've been very busy with this experiment! Love the final color, it's beautiful. Very interesting set up you have.
Keep on experimenting, the results look great.
This is so interesting! I'm love watching you experiment! Certain fabrics do take dyes differently. Some actually suck up the dye molecules quickly. It's a learning curve, but you are doing so good!
What fun! I love this!
Total #CreativeGoodness. Great tutorial too!
QuiltShopGal
www.quiltshopgal.com
I am so impressed!
Wow! You've got a real testing lab going on there! I'm really enjoying watching your progress and experimentation and it looks like you're having so much fun. I'm so happy for you! Keep up the great work!
Thanks for sharing this process. Your post is very informative and has given me a few dying tips.
I love that orange fabric! Looks like you are having a lot of fun. Thanks for sharing all the info.
That is completely amazing! I never thought of making my own batiks... Now you have me thinking...
When I was planning my wedding, I received used sheets from a linen supply company and asked my mom to dye them chocolate brown (I bought her the dye). Many of the sheets turned out a lighter brown, and some almost pink. I never thought about the fact that they weren't 100% cotton and that I wouldn't get consistent results. We still used them and I liked that they were all slightly different.
Ooh that fabric is lovely. The color is so striking. Looks like you had fun doing this can't wait to see what you make wit them.
Fascinating. Your can do, give it a try attitude is inspiring. The resulting fabric - drool worthy.
I just did some batiking today, my house still smells like beeswax. I use pretty much anything, including carved potatoes that I hold onto with those things for hot corn-on-the-cob.
Your results are spectacular. I've been wanting to try batik, but am going to use soy wax since it's easier to remove. I,too, keep looking for a used electric frying pan.
Beautiful results and how fun!!
Post a Comment